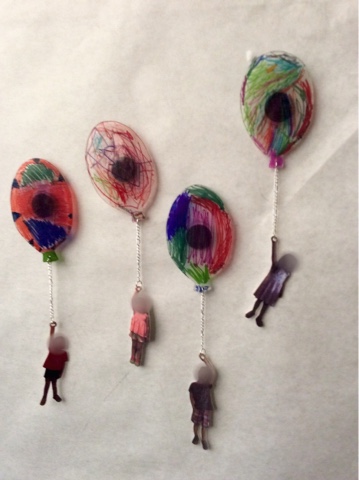
The first part is getting the shrink plastic, or Shinky Dinks, and cutting out a ballon shape. These ballon where about half a sheet big. The kids then colored them in.
Some children just did scribbles and some did very detailed drawings. It's always important to encourage children when they draw no matter what their ability. These look beautiful no matter what, so it's always fun to encourage children to explore the medium. By the way, we used sharpies for drawing, but you can also use colored pencils if you are nervous about young ones and permanent markers! We actually use sharpies often in our classroom, so children are pretty comfortable with them and understand the rules.
As you can see the trays get marked up quite a bit.
While the children were drawing, I went around and snapped photos of them standing and pretending to hold a balloon. Lighting was very important I discovered! Any small amount of backlighting created a very dark picture. I then used Printshop to crop around their pictures (to save ink), tinted them to about 70%, and printed them out on special shrink plastic made for injet printers. I could fit about four kids vertically and a fifth horizontally per page. Before you cut out the images, make sure you make a hole with a hole puncher first! Often the hole is bigger than their hand and you won't be able to punch it afterwards.
Then shrink! I bake mine at 350 degrees F on parchment paper, colored side up for a couple of minutes.
Add chain from balloon to child's hand, glue gun a magnet on, and voila!
Cutest magnet ever! I also wrote "St. Mark's Preschool Summer 2015" on the back of ours.
The children each helped with wrapping their own balloon, and I added the ribbon. You could tell the kids did the wrapping on the bottom.


No comments:
Post a Comment